Tutorial: FHEM Smart Home Server
FHEM is an open source server that is based on Perl and can be used for home automation. FHEM can automate tasks that need to be executed regularly, such as switching lights, blinds or controlling the heating, as well as recording temperatures, humidity or energy usage.
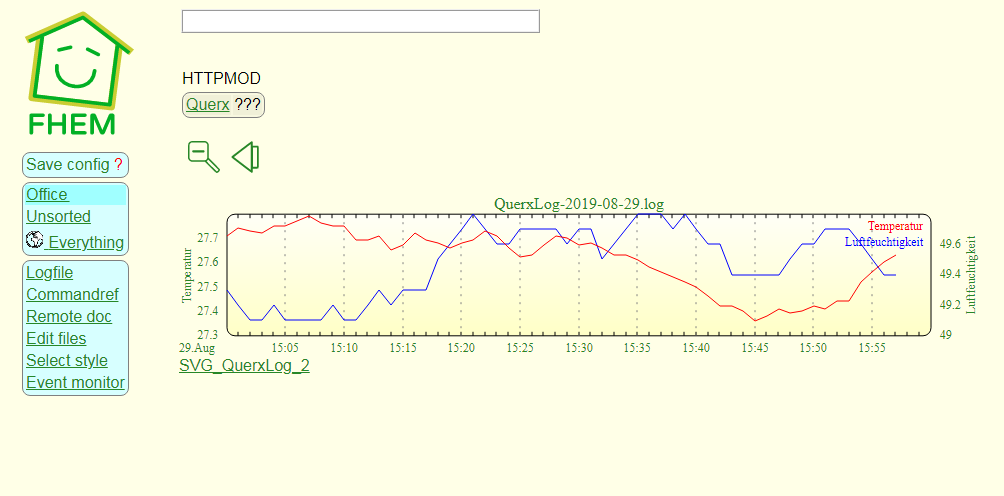
This tutorial explains how to create a Device for the Querx network sensor in FHEM and view the data as a graph or table.

Installation
Since the installation process for various operating systems differs and is explained in great detail on the FHEM Wiki page, we will simply provide the corresponding links:
https://fhem.de/#Documentation
https://wiki.fhem.de/wiki/FHEM_Installation_Windows/en
https://fhem.de/#Documentation
https://wiki.fhem.de/wiki/FHEM_Installation_Windows/en
Once the installation has been completed, the main page can be accessed at
http://IP-Adresse/:8083 oder http://localhost:8083/fhem?
http://IP-Adresse/:8083 oder http://localhost:8083/fhem?

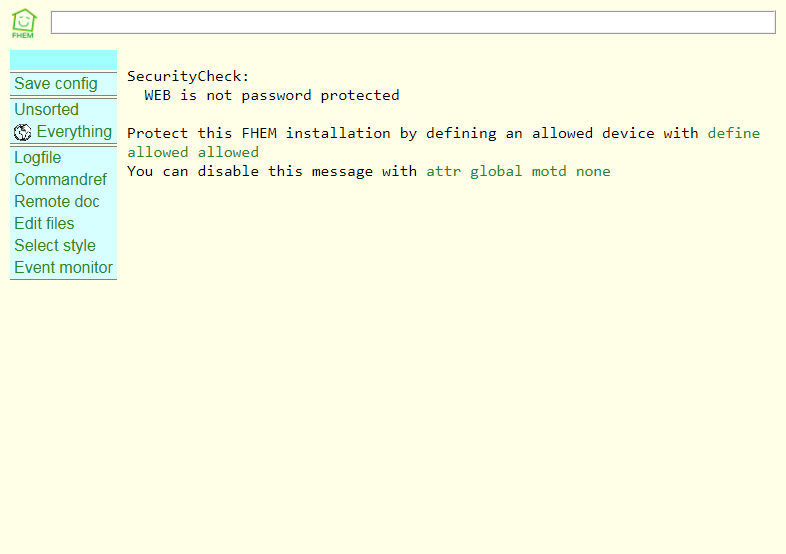
The main page displays a “Security Check”.
This notice tells us that no password has been configured yet. The following page explains how to configure a password: https://wiki.fhem.de/wiki/Quick-Start/en.
This notice tells us that no password has been configured yet. The following page explains how to configure a password: https://wiki.fhem.de/wiki/Quick-Start/en.
The message can be deactivated for the purposes of this tutorial by entering
attr global motd none
into the command field.
Installing a Template
We need to create a customizable template for Querx, so that FHEM can retrieve data via HTTPMOD. While this does work with firmware version 4.2 for Querx, it is advisable to update to version 4.4.
You can see which data can be queried via HTTPMOD by entering Querx ip-address/tpl/document.cgi?tpl/j/live.tpl?msub=xml. We can select the data we want to query from the resulting list and create a template that needs to look like this:
add=/tpl/j/fhem.tpl


                        {{sensortab_name}}
                        {%if sensortab_unitv==1%}F{%elif sensortab_unitv==2%}K{%else%}C{%endif%}
                        {{sensortab_value}}

{%if dev_type == "TH" or dev_type == "THP"%}
                        {{sensortab_name.1}}
                        {{sensortab_unit.1}}
                        {{sensortab_value.1}}


                        {{sensortab_name.2}}
                        {%if sensortab_unitv==1%}F{%elif sensortab_unitv==2%}K{%else%}C{%endif%}
                        {{sensortab_value.2}}

{%endif%}{%if dev_type == "THP"%}
                        {{sensortab_name.3}}
                        {{sensortab_unit.3}}
                        {{sensortab_value.3}}

{%endif%}
This template is created in Notepad and saved as fhem.tpl. A template can also be downloaded here.
In order to install the template on the Querx network sensor, we need to access the configuration area and navigate to “Maintenance / Firmware”. Here we need to select the template in the section “Install content” and click “Upload”.

The link http://Querx IP-address/tpl/document.cgi?tpl/j/fhem.tpl&msub=xml can now be used to view the data from the template.
Creating an FHEM Device
We will now create a Device for Querx in FHEM. Since we are using HTTPMOD, we need to define the Device as such.
Enter:
Enter:
define Querx HTTPMOD http://ip-Adresse_des_Querx/tpl/document.cgi?tpl/j/fhem.tpl&msub=xml 60
into the command field.
Querx is the name of the Device and 60 defines the interval between queries in seconds.
Once we are down with this, we assign the Device to a room by entering the command
attr Querx room Office
This lets you combine corresponding devices in one menu point. If this is not done, Querx is found in the menu “Unsorted”.
Now we need to state that the temperature values are to be queried. First, we need to create the attribute Reading.
attr Querx readingsName_temperatur Temperature
Then, the Reading itself needs to be defined.
attr Querx readingsRegex_temperature(+|-?[d.]+)
The regular expression “(\+|-?[\d\.]+)” defines how the temperature is located in the template.
We follow the same procedure for the humidity values. The first step is to once again create the Reading as an attribute.
attr Querx readingsName_humidity Humidity
We then define the Reading.
attr Querx readingsRegex_humidity(+|-?[d.]+)
Both Readings can now be viewed in the Device Querx.

Finally, the configuration is saved by clicking “Save Config”.
Graphic Visualization
A log file is required, in order to create a history graph with the FHEM module GPLOT:
define QuerxLog FileLog ./log/QuerxLog-%Y-%m-%d.log Querx
Entering this command into the command field creates a log file named QuerxLog that is saved at ./log/QuerLog.
If you only want one log file per month, the parameters &Y-%m%d need to be adjusted correspondingly.
The name Querx at the end of the command defines which Device’s log file we want to create. A room can also be assigned to the QuerxLog. In this case, we combined it with another Querx in the Room Office.
The log file with the temperature and humidity values can be viewed by clicking “text” in the upper right corner.
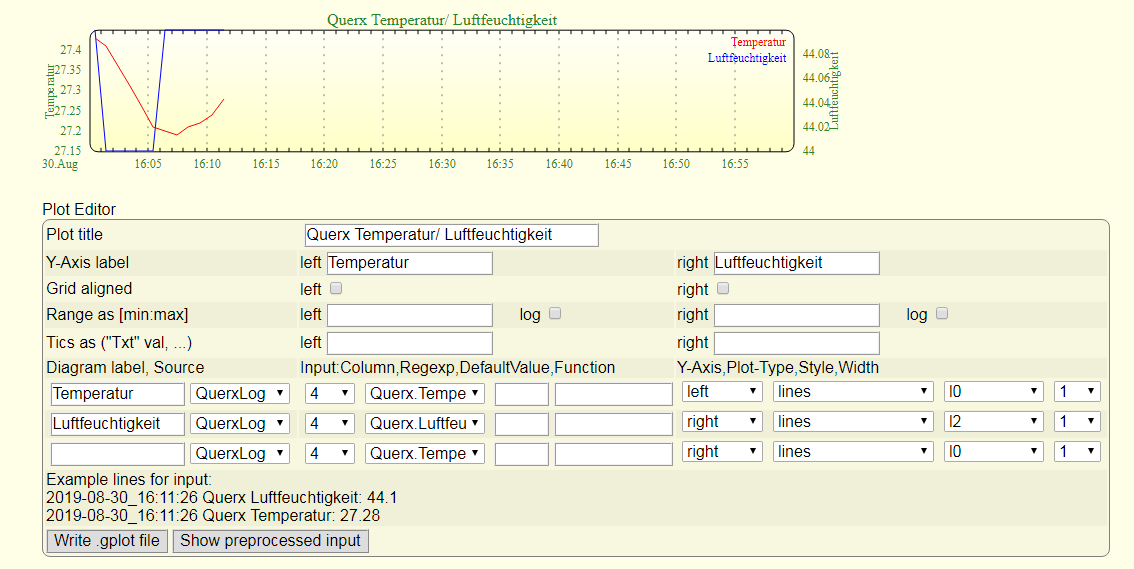
In order to create the GPLOT, we then need to click the button “Create SVGplot”. It is located on the previous page. This opens the GPLOT editor.
The graph can be customized to suit your requirements. The following image shows just one example of how this can look.
In order to create the GPLOT, we then need to click the button “Create SVGplot”. It is located on the previous page. This opens the GPLOT editor.
The graph can be customized to suit your requirements. The following image shows just one example of how this can look.

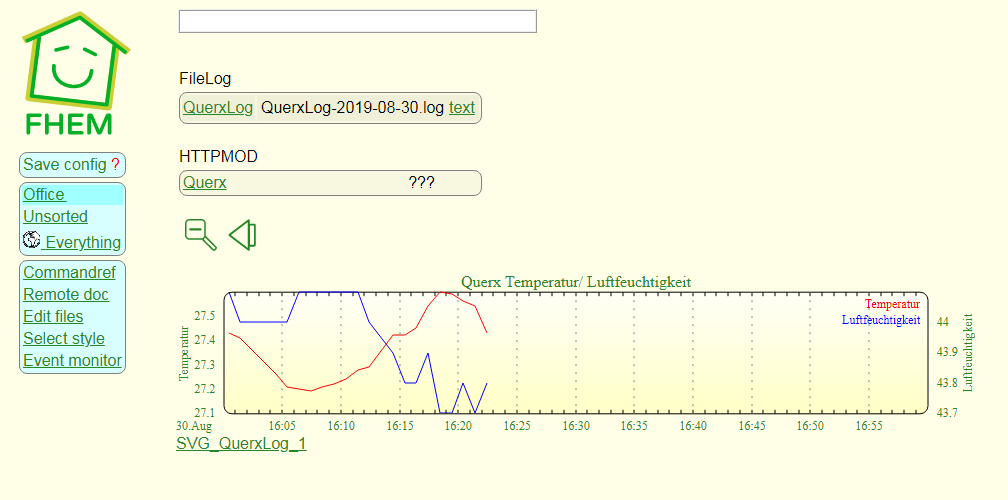
Clicking “Write.gplot file” completes the graph’s setup. Finally, we can enter the command
attr SVG_QuerxLog_1 room Office
to assign the graph to the Room Office.

