
Let's go!
Connecting to the network
Supply the device with power
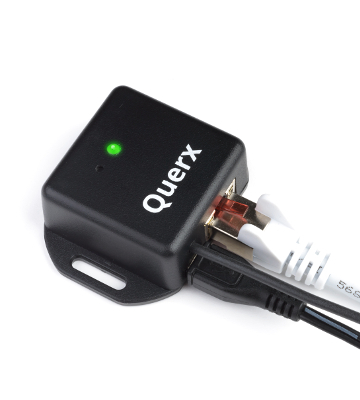
Connect Querx to the power adaptor via a micro-USB cable and plug the adaptor into a socket. The status LED will light up yellow.

Configuring the network
Most local networks support DHCP, allowing the sensor’s network configuration to be set up automatically. Once Querx has received valid settings, the status LED will flash green every ten seconds.
Accessing the web interface
Open your web browser and enter http://system name.local/ into the address line.
The system name in factory settings is querx000000.
The six zeros need to be replaced by the sensor’s MAC address. The MAC address is printed on the sticker on the bottom of the device.

You will now see the Querx web interface in your browser.
Accessing the configuration area
Click the button Configuration in the upper right corner of the web interface. The homepage of the configuration area will now open.

You can find detailed information about the configuration of the device in the Querx manual. You can download it here.